Машка

Saturday, June 20, 2009

REPLACE FASTENERS!!!

Lesson learned the hard way (one, two, three):

  • Either plan on replacing fasteners and grommets that are in your way;
  • Or remove and inspect them before ordering replacement parts.
It's the tradeoff between your money and your time (which is, by the way, also your money, and also non-renewable, unlke money).

Latter practically means doing the job twice and in some places that means risking weakening parts that are extremely expensive or troublesome to replace (trailing arms, engine covers, head and body), so just bite the bullet and buy extra fasteners and grommets. They may not be cheap, but at least you won't be caught unprepared with your car non-driveable, or have to do the job twice.

Pitman Arms

Used Up Dogbones

I mean, what's there to do - unscrew four bolts, screw them back on, right?

Wrong.

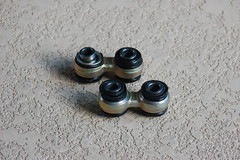
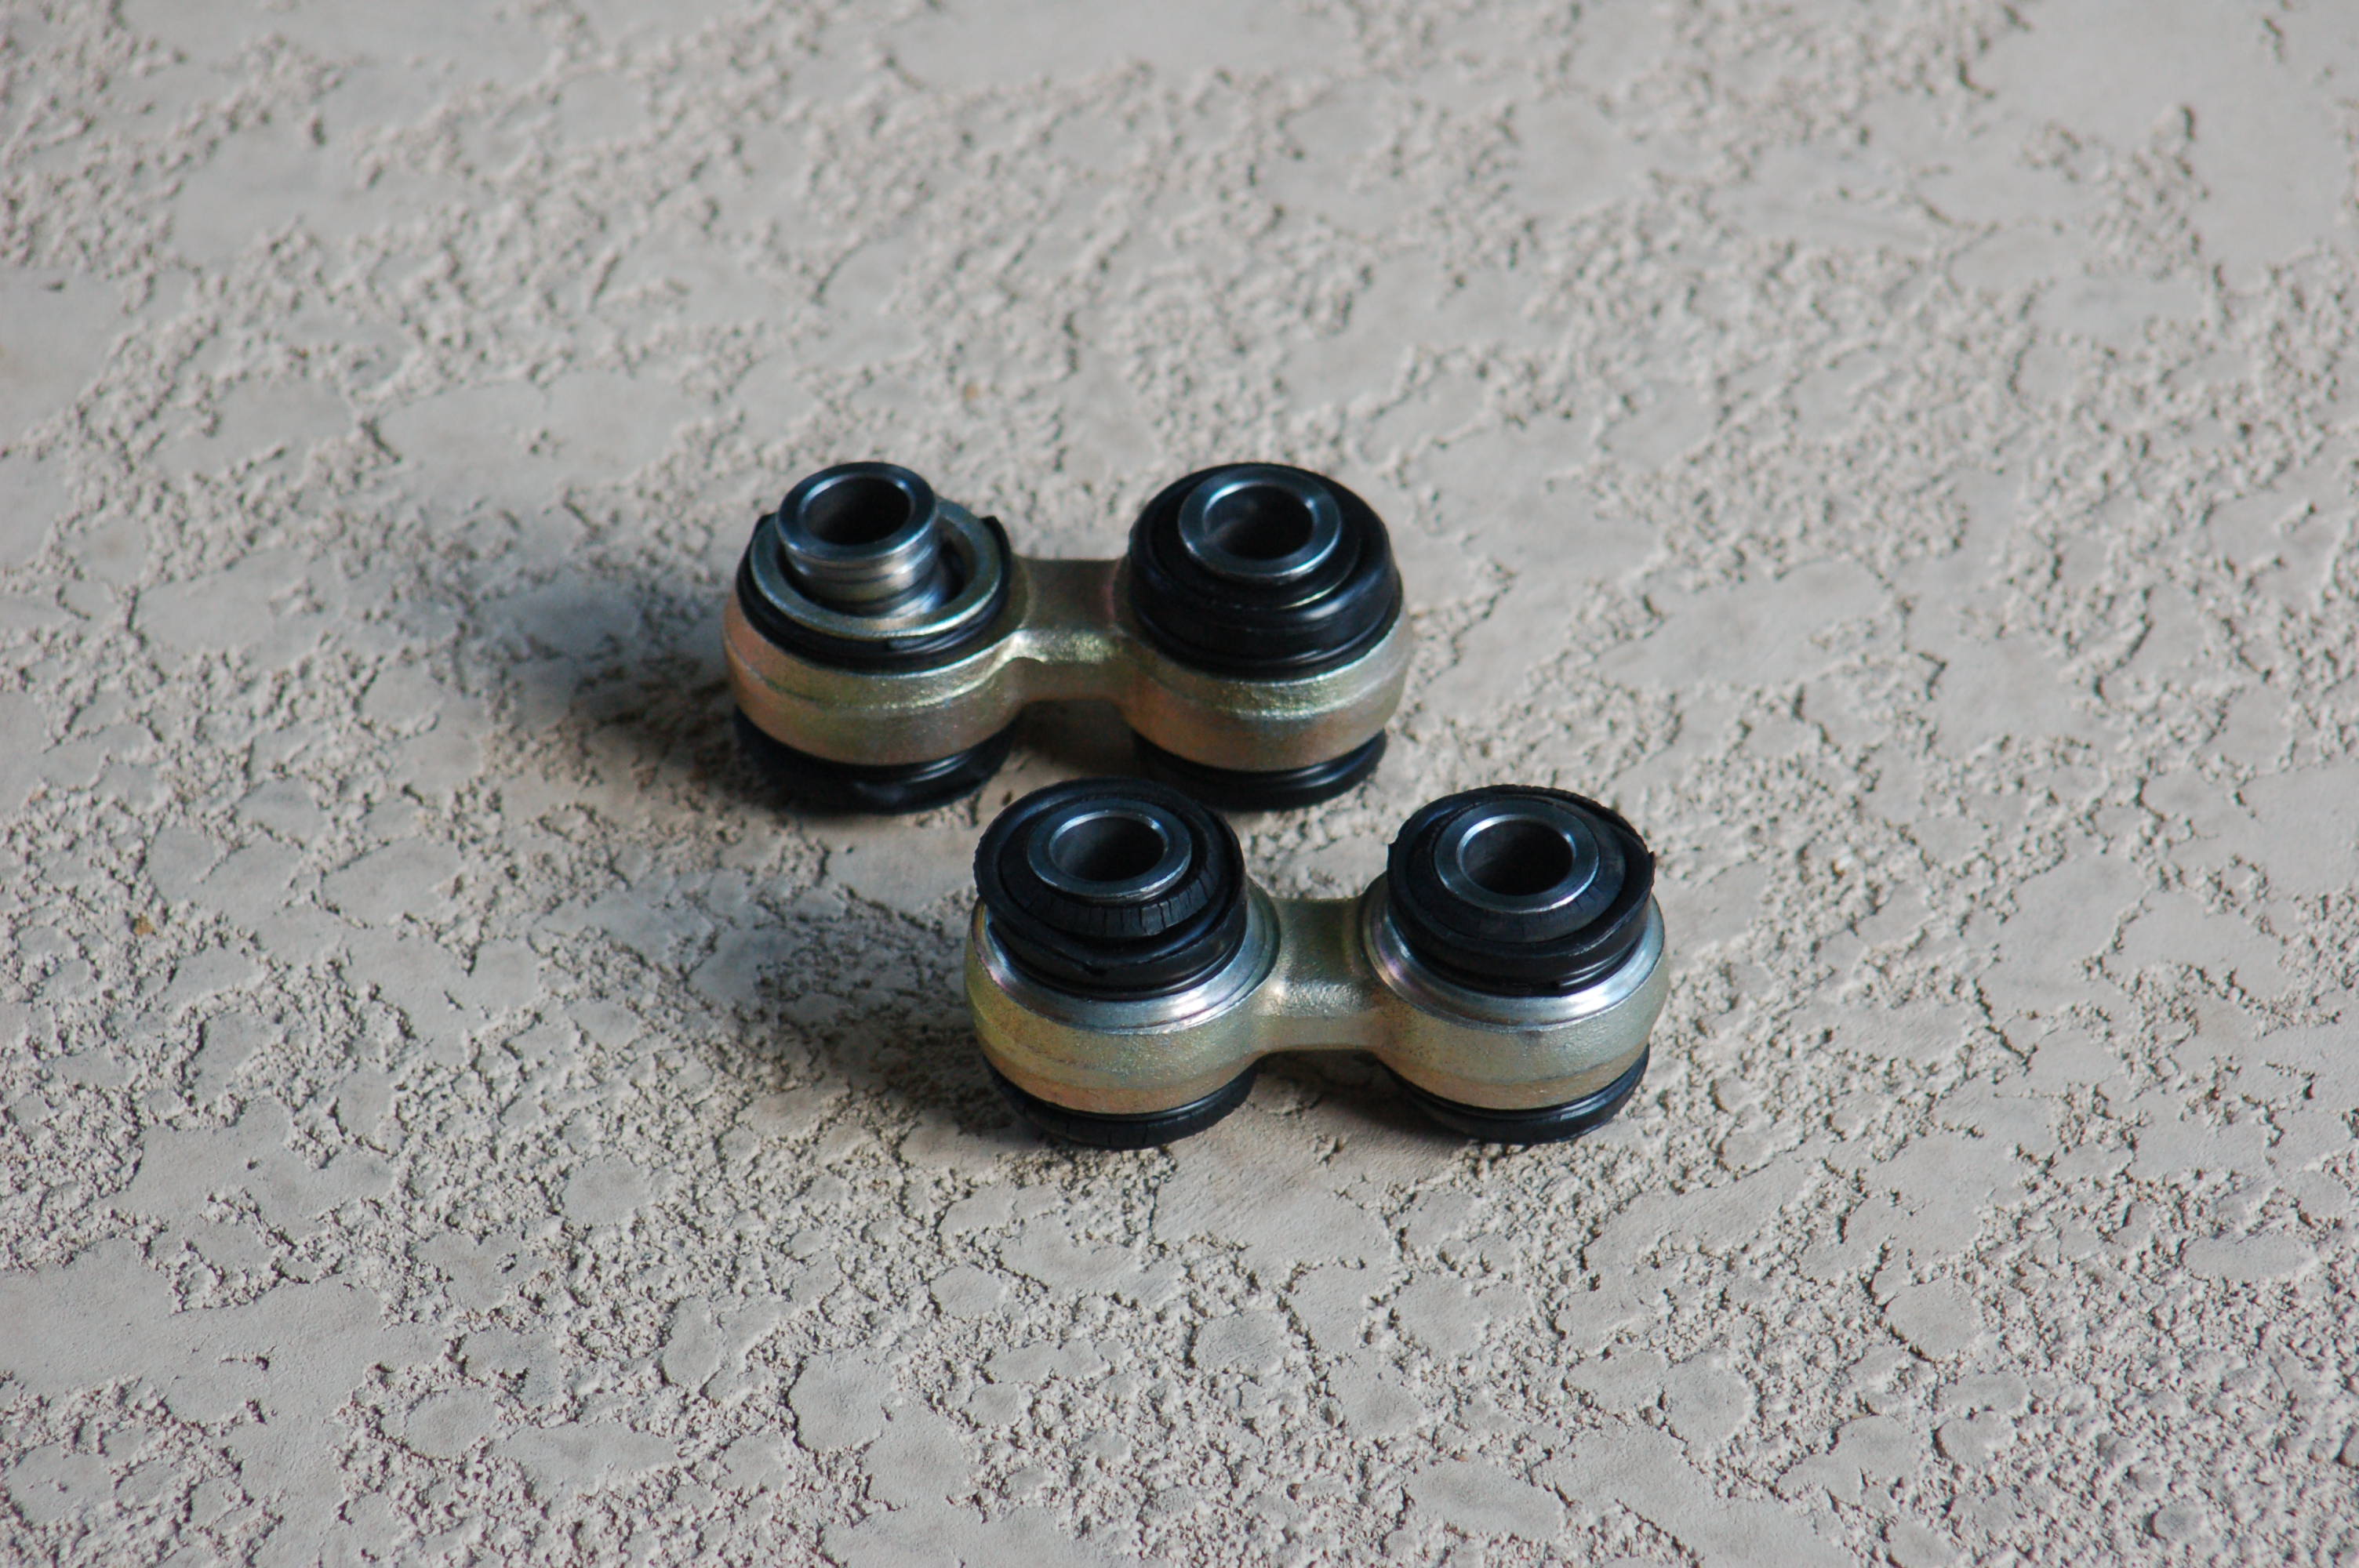
Maybe so if that's the car you've owned from the day one. Then you may probably get away with just the pair of dogbones like this.

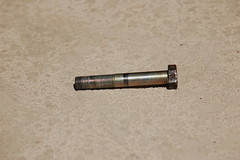
Not so if that car is used, or should I say pre-owned, or should I say pre-<censored>-up. In that case you're likely to find, say, a missing washer or two (part #33311125916), or a destroyed bolt (part #07119914848).

Fasteners: REPLACE

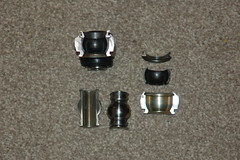
So either you spend more cash on the complete set with fasteners like this, or you're going to be running around looking for bolts and washers anyway.

It's up to you to decide what's more expensive - about $50 in price (that's the difference between the pair of arms and pair of complete sets) or the most non-renewable resource that you have in your life - your time. Plus some money on missing/bad parts, of course.

One more thing: dogbones that have gone bad (picture on top) look identical to new ones, made by Karlyn. I don't know how much time does the metal need to go dark and gloomy in a hot and dry climate, but the old dogbones look very, very new and shiny after so much as being dipped into white spirit and cleaned lazily with a toothbrush. Rubber on them is absolutely thrashed, though - look at the big picture. I have no clue whether the new parts are any good or not, but you bet that if they aren't, you'll see the update here as soon as I find them going bad. For now, though, I'd say that if I had to make a decision again, I would've gone with the more expensive complete kit.

UPDATE: The story is far from over. Check out this thread at MyE28.com, and take a close look at this picture:
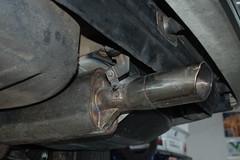
Pitman Arm: Autopsy

Saturday, June 6, 2009

The Pipe Is Back

Welded Back

Even better than before - now it's got three hangers, as it is supposed to. Oh, and it's no longer sideways - damn, I thought that it was supposed to be that way, and it actually looked kinda cool :)

Disaster

The whole thing looks horrible, though. Good time to start budgeting for new exhaust system.

Monday, June 1, 2009

Dude, Where's My Pipe?

Hanger bye-bye

If not for Joe The Neighbour who took a moment to look up from figuring out why his Ferrari is consuming so much oil and angrily spitting it outside through exhaust pipes (impressive sight indeed), we would've ended up with a very, very expensive repair - all the exhaust system at least, and quite possibly the catalyst as well, would've most probably ended up being torn away and eager to meet the lucky road traffic participant following this car, for there was one hanger remaining - the right one. The other (left) hanger was long gone by the time the exhaust pipe was inspected for the first time.

Good Enough

Alas, big disaster was diverted, and for now the temporary fix is in place (about $10 in parts and couple of hours of procuring right parts). Permanent fix is coming Fridaydone.

Tuesday, May 26, 2009

Front Brakes: Good News, Bad News

Following up on brake bleeding session...

Good news is that there's more than enough brake pads, and apparently rotors left. Bad news is that the wear sensor (part #34351179819) is broken (best guess is that whoever changed the pads broke the new sensor and decided to cover it up) and needs to be replaced. Pity - it's a $5 part, and labor involved in checking it and installing a new one is much more than that.

Other bad news is that the ABS sensor cable (part #34521154044) seems to be going (aging insulation is falling apart) and will have to be replaced soon.

Still need to take a look at the rear brakes - don't remember seeing the wear sensor there, either.

Thursday, May 21, 2009

RMeuropean delivery: wow, I'm impressed

Ordered two Pitman arms (part #33321126476) from rmeuropean.com at 13:30 local time yesterday. At 11:30 local time today the package was at the door.

That's the shortest shipment time ever. Wow.

Oh Noes! The Clutch Is Gone... And Back

...now have to figure out what's the cause, and how it is related to yesterday's brake bleeding session.

Master cylinder is the main suspect until the morning sun comes.

UPDATE: Just air in the system, nothing more. Bled the hell out of it while identifying the issue - it's not immediately obvious where the intake hose is, and it's easy to suck the air into the clutch system unless you're watching the fluid level in the main reservoir. For the reference, a safe volume from the maximum level to the level you have to stop at is about 8 fl oz, or 200ml.

Before you set out to bleed the clutch, you may want to check if you need to replace the bleeder screw (part #21521116360), and whether the dust cap (part #21521102908) is in place - will save you some grief.

It is possible to use a vacuum bleeder to bleed the clutch, even though this is not a recommended way - you will most probably have to unscrew the bleeder screw completely (there will not be a massive leak), wrap it into teflon tape and screw it back (thanks to mooseheadm5 for the advice) - otherwise you'll be sucking air through the bleeder screw thread.

While you're there, you might just as well take off the slave cylinder and push the air out of it. Don't have the pedal all the way up when you're installing the slave cylinder back, you won't be able to overcome the resistance of the clutch release spring and put the nuts back.